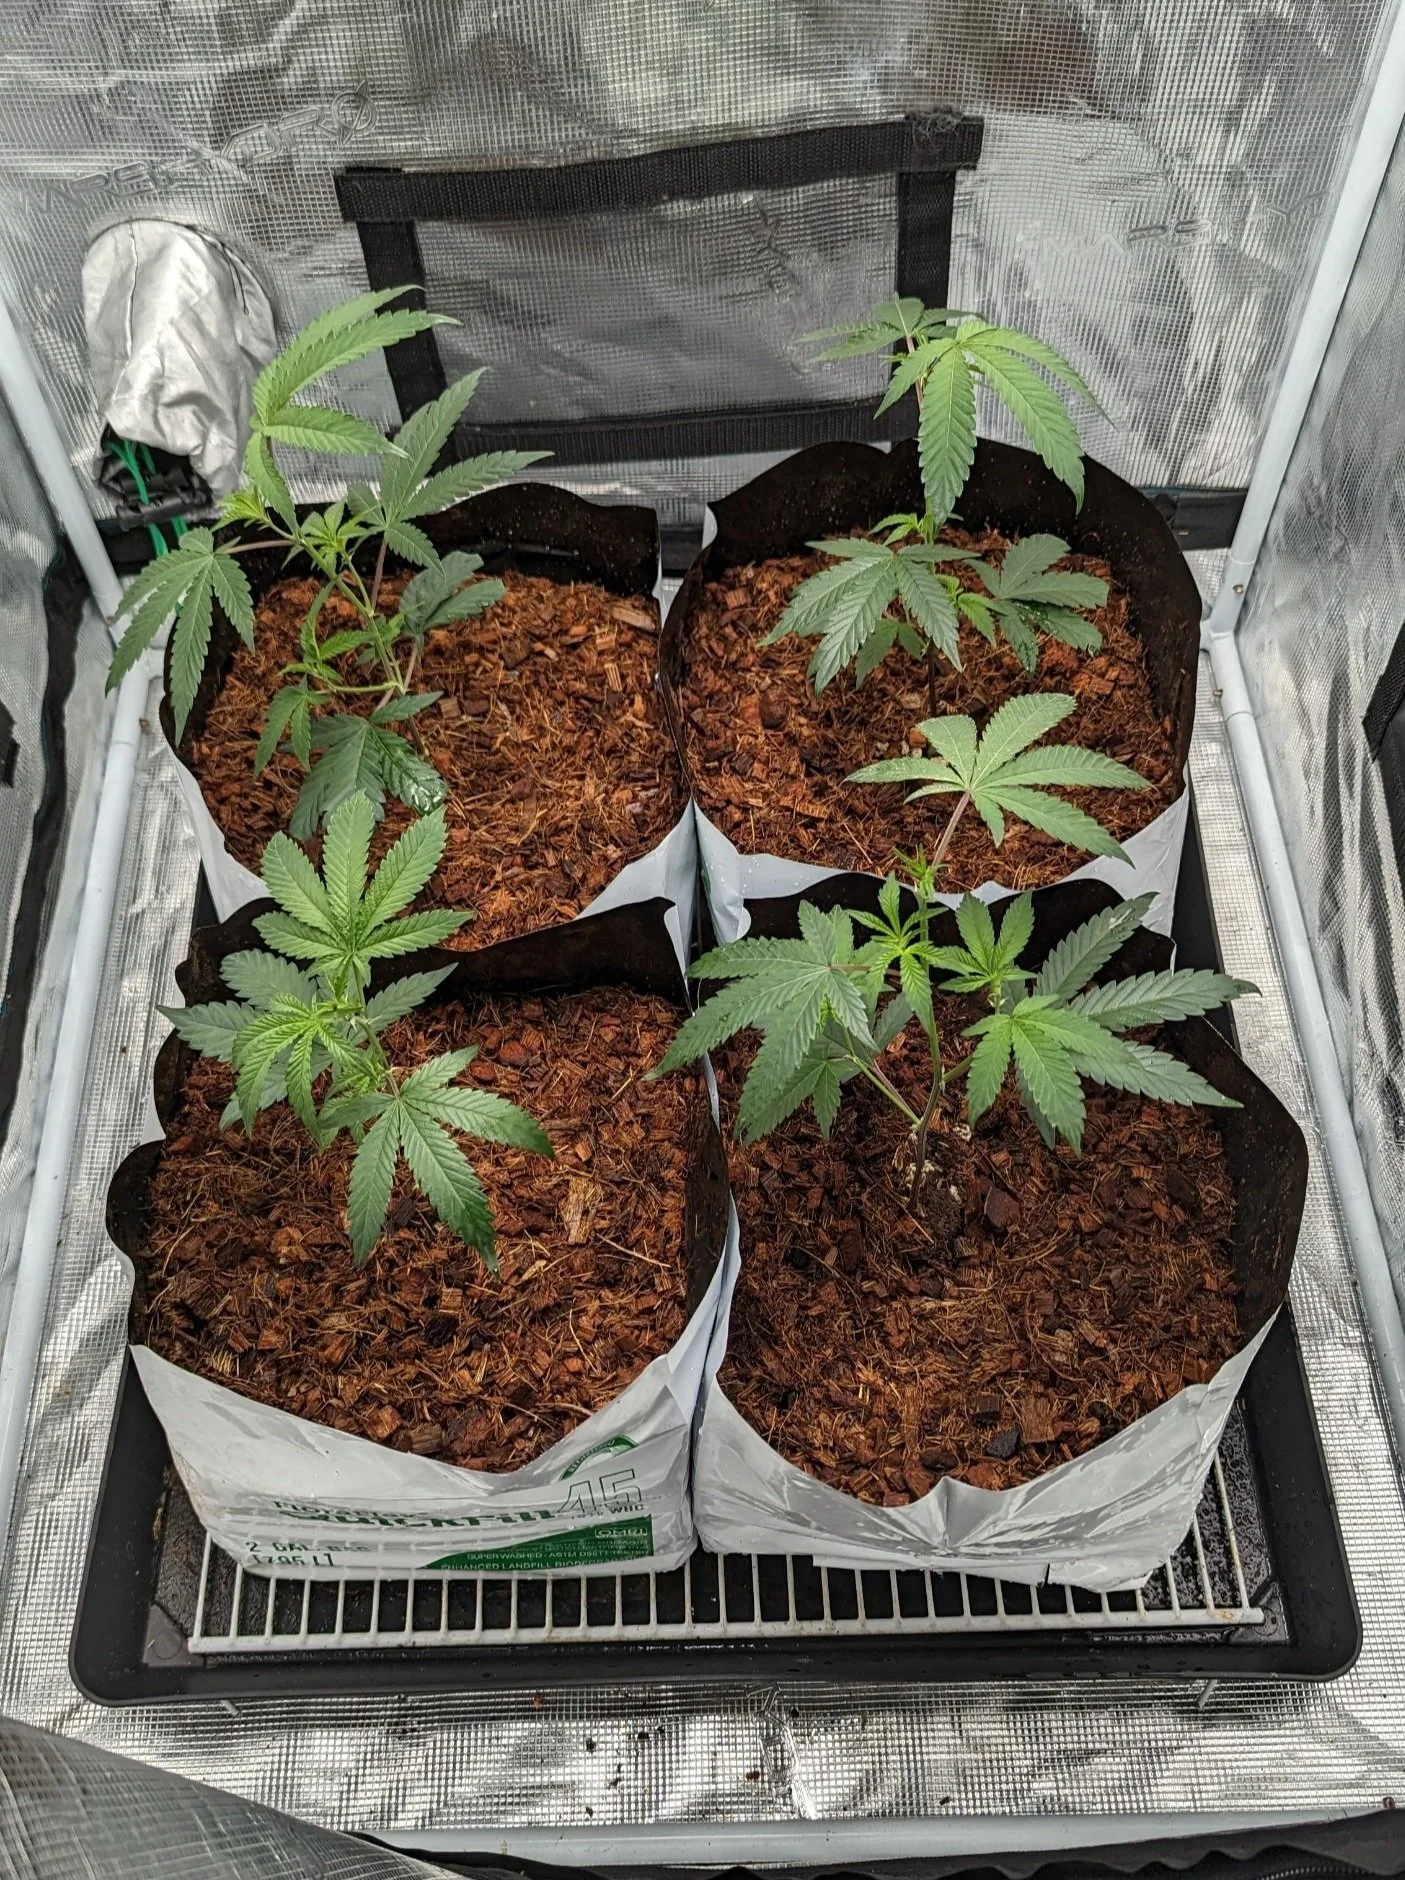
veg tent
Here’s a parts list and some photos of how I have everything set up.
Recommended Parts List
Mars Hydro 27 x 27in tent ($100)
https://amzn.to/3kecOpu
Mars Hydro TS600 ($80)
https://amzn.to/3IEsIn9
Circulation Fan ($40)
https://amzn.to/3oLWDSs
Extraction Fan ($70)
https://amzn.to/3n4K3Ny
Extraction Fan w/ Filter ($100)
https://amzn.to/4486ylC
Humidifier ($40)
https://amzn.to/3LdLlhv
We really don’t need to break the bank here. 100 watts will be enough for the early veg period. Any more light and you’ll be dimming them down anyways. If silence is a must for you, I’d recommend going with the more expensive AC Infinity Extraction Fan as they do run near silent at low speeds. If you’re not planning to ever flower in this tent, you can skip on the carbon filter as well. A clip on fan works in this tent as well but I do enjoy the new oscillating fans from AC. I’m still using this one until it gives up the ghost when I’ll upgrade. I have used this tent to house clones as well to great success! The humidifier comes in handy when hardening the clones off. It’s one of those things that every grower needs to have on hand, just in case.
Veg Tent Stand
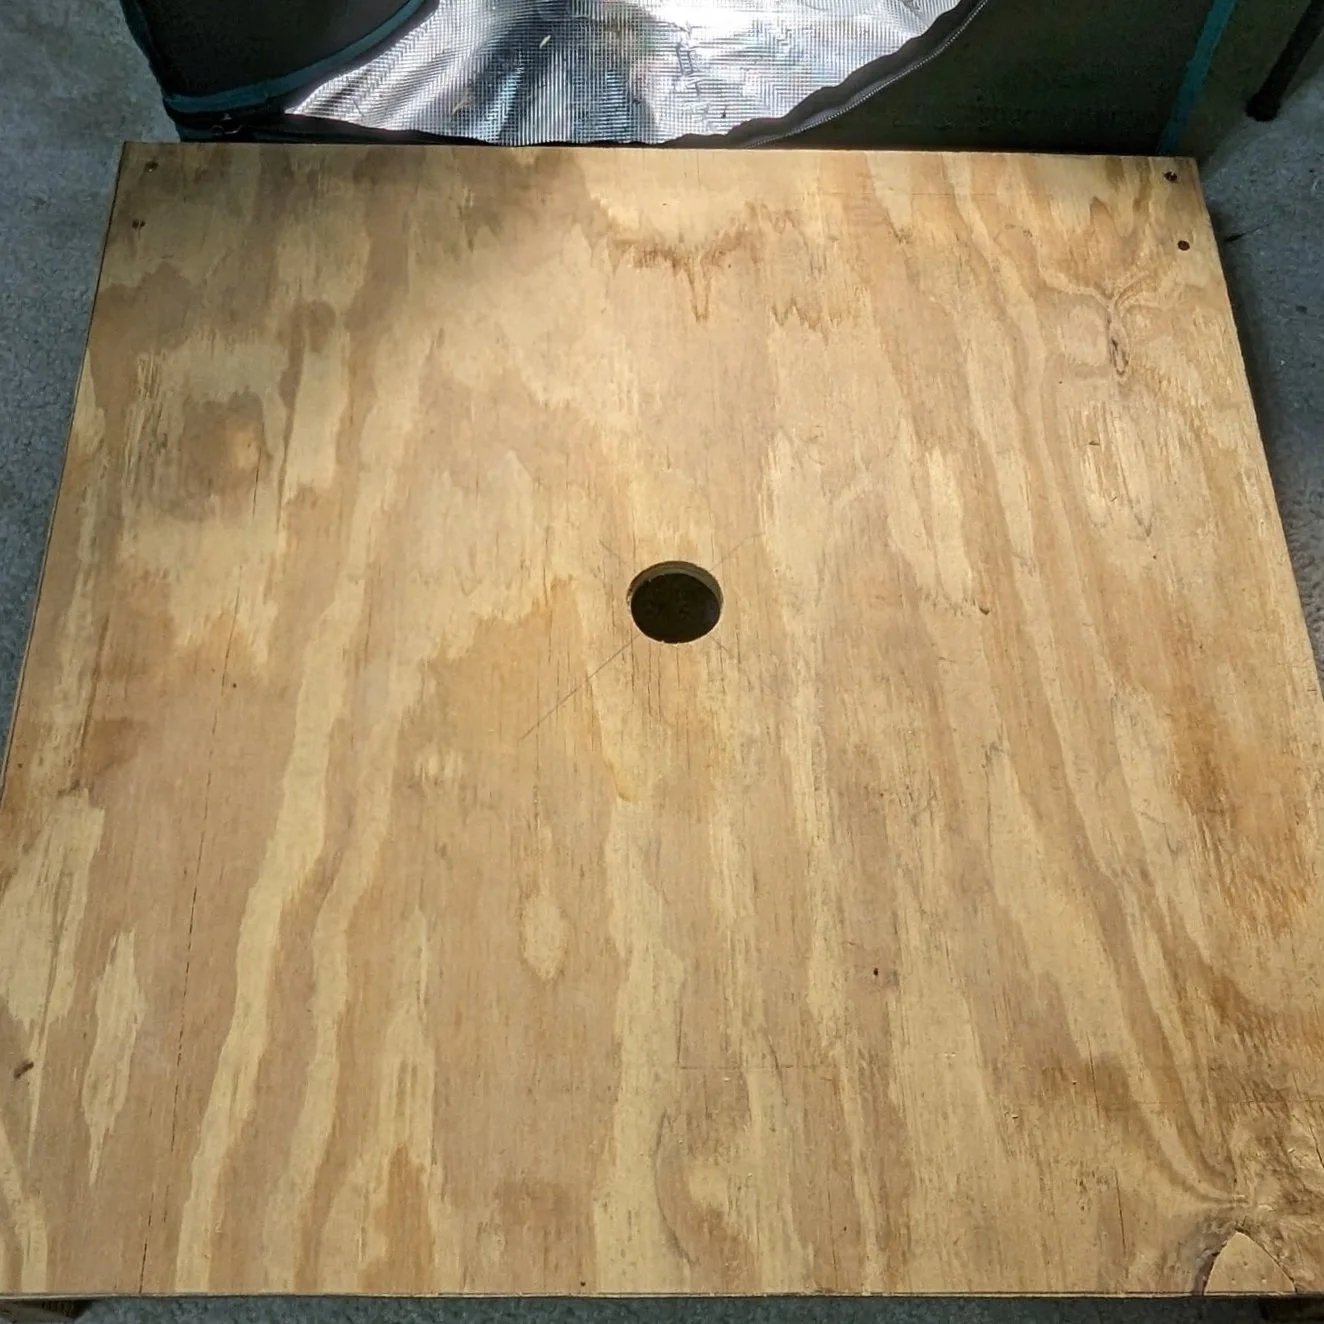
This couldn’t be easier. Just some particle or plywood on 6 inch 2x4s screwed in through the top. That just leaves the task of drilling a hole for your run off. Make sure it’s at least an 1 1/4 in diameter to fit your run off pipe.
Run off tray
This addition to the tent makes it into a functioning drain to waste tent though the run off can be very low or non existent at this point. If you’re not interested in a DTW setup, you can skip this part.
I picked up this oil spill tray that from Autozone and used my step drill bit to pierce the center. I used some epoxy to attach about 1.25 inches of 3/4 inch PVC pipe to the underside. A bit of sand paper to rough up both surfaces helps them adhere more securely. Oh, please pardon the mess. I’m currently using my tents. This isn’t a studio.
Because using existing resources is a cornerstone of DIY projects, I used a bit of extra wire shelving to slightly elevate my pots. Unseen are the bolt cutters I used to trim off then angled bit. I’d encourage you to use your creativity on this. Or if you’re feeling spendy, these spill mats work very well.
Underneath the tent I have a shallow plastic tub to catch the tiny amount of runoff I get but a motorcycle oil pan would be an upgrade.
Now that you’re prepped, don’t be afraid to cut an X in your tent right in the center. It was hard the first time, by the third you’ll be a pro. When you line up your PVC pipe on the bottom of your tray with the hole in the tent and stand, you’re ready to run off!
That’s about it for this tent. Keep it simple with your build. There are hundreds of videos online on how to put a tent together. For some tips and tricks on tent building, check out my post HERE!


